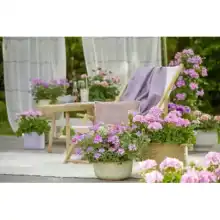
Now the sun has finally put in an appearance, nicely in time for the summer holidays, those enjoying staycations in their own garden are in for a glorious, relaxing time, away from crowds and travel chaos.
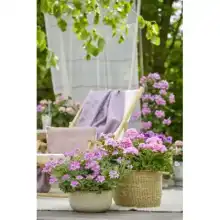
For those who love gardening, this is the perfect time to potter amongst the pelargoniums and gild your lilies! Whilst there will be plenty to do in the way of watering and weeding, you might also want to indulge in a spot of creative crafting, with a cooling glass of Pimms or lemonade on hand, of course!
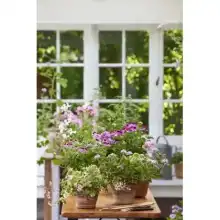
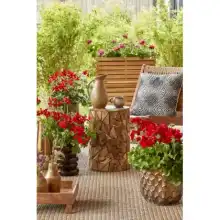
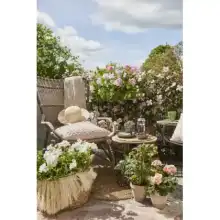
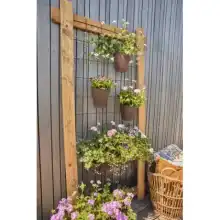
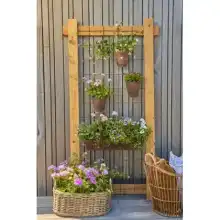
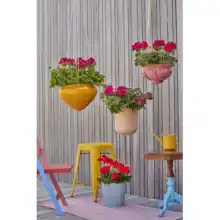
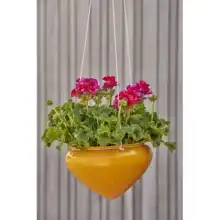
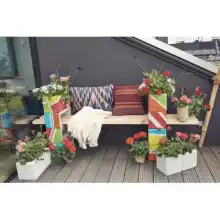
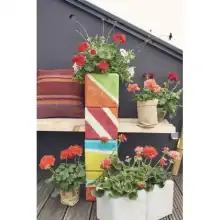
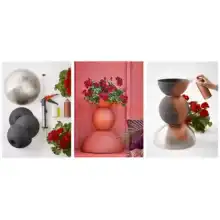
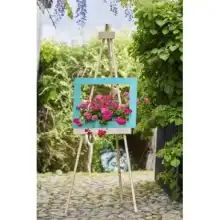
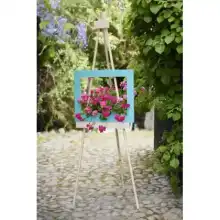
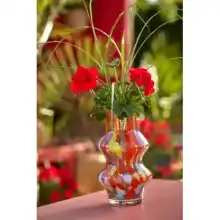
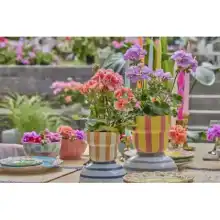
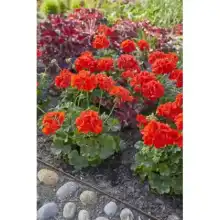
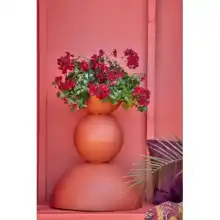
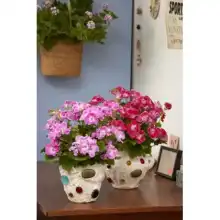
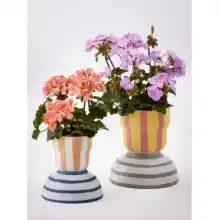
Pelargonium for Europe, the experts when it comes to some of the most popular summer plants, are bursting with ideas about how get crafty in the great outdoors. Here we take a look at how to make a statement in your garden, patio or balcony with this striking Totem planter, the perfect way to show off luscious trailing geraniums.
How to make it
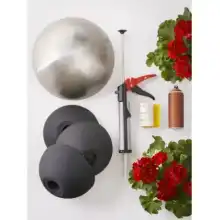
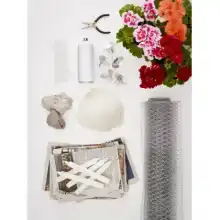
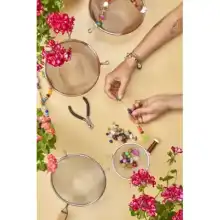
You will need a large, round metal bowl as a base, three smaller hemispherical bowls with flat rims, sandpaper, a sealant gun, high-strength construction adhesive, waterproof spray paint and a flowering trailing geranium plant.
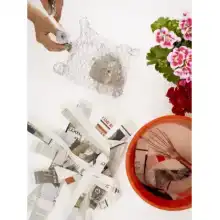
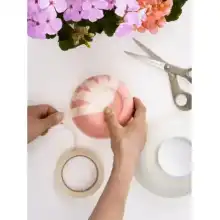
Step 1: To make sure the paint adheres well, clean the surface of the large, round metal bowl to remove any grease and dust, then roughen it with the sandpaper.
Step 2: Using the sealant gun, apply the construction adhesive to the edge of one of the smaller hemispherical bowls and place a second one on top to create a sphere with two flat ends.
Step 3: Apply glue to the upper end of the sphere.
Step 4: Place the third hemispherical bowl on top of the spherical structure. It will become the dish in which you’ll plant the geranium later. Allow the glue to harden completely.
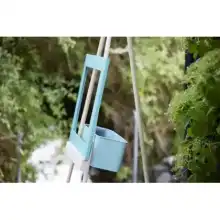
Step 5: Glue the three joined bowls onto the large metal bowl that serves as the base. Once the glue has hardened, spray the entire piece with waterproof spray paint in the colour of your choice.
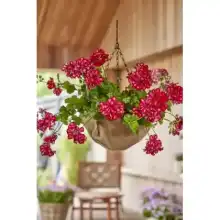
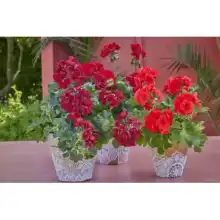
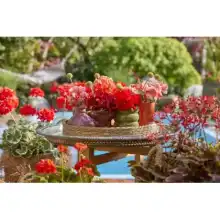
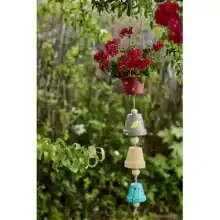
Step 6: Plant the trailing geranium in the smaller bowl and place your designer container in a sunny to semi-shady spot. Tip: Add a drainage layer to prevent waterlogging. As this planter has no drainage holes, place it in a spot sheltered from rain and water it lightly on a regular basis.